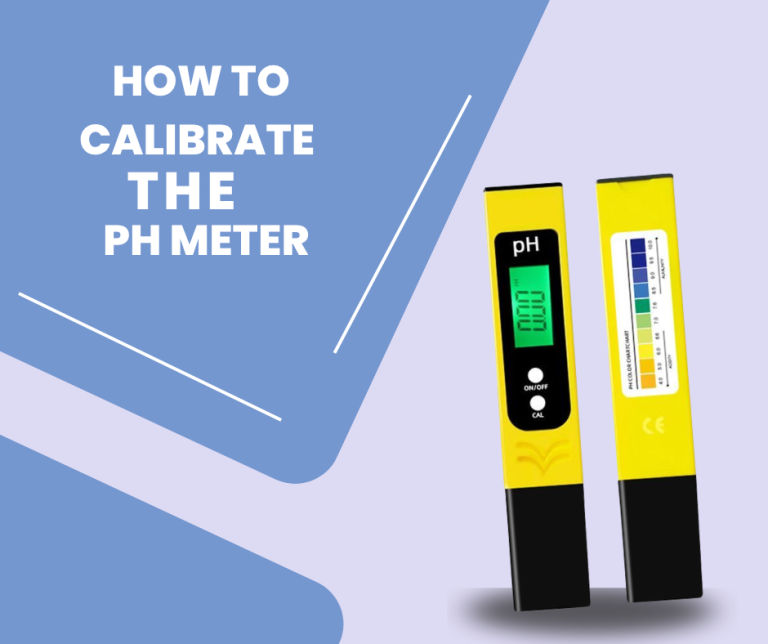
Welcome to the definitive guide to pH meter calibration! If you’re a science enthusiast, a lab professional, or simply someone who owns a pH meter for everyday use, this article is for you. Let’s dive in and explore why calibration is crucial and how to get it right every time.
Introduction: Understanding pH and Its Importance
Before we get into calibration, let’s make sure we understand what pH is and why it’s important. pH is a scale from 0 to 14 that measures the acidity or alkalinity of a solution. A pH of 7 is neutral, below 7 is acidic, and above 7 is basic or alkaline. This scale is essential in various fields, from chemistry and biology to environmental science and food production.
In your garden, knowing the pH of your soil can mean the difference between a thriving garden and a bunch of dead plants. In your kitchen, it can help you make perfect bread or adjust the acidity in your yogurt. And in your lab, it’s crucial for accurate measurements in your experiments.
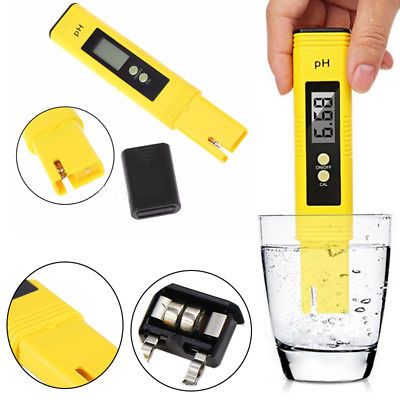
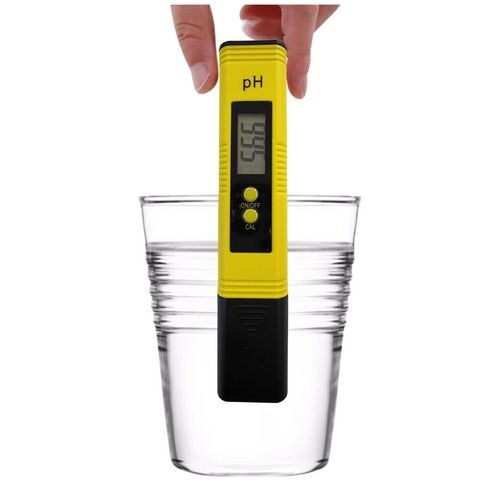
A digital pH meter provides quick, precise readings, which is especially important in scientific or industrial settings where accuracy is key. However, even the best tools need maintenance, and that’s where calibration comes in.
The Importance of pH Meter Calibration
Now, why is calibration so important? Let’s explore:
Accuracy Assurance
Without calibration, your pH meter might be off by 0.1 to 0.5 pH units. While that might sound small, in experimental settings, it can mean the difference between success and failure. Imagine testing medicine or environmental samples with inaccurate readings— the consequences could be significant.
Compliance and Safety
In professional settings like labs or factories, regulations such as ISO or GLP require regular calibration to ensure data integrity and safety. It’s not just about getting the right numbers; it’s about adhering to standards that guarantee reliability.
Cost Savings
Regular calibration extends the life of your equipment. By maintaining accurate readings, you avoid costly errors and reduce the frequency of equipment replacements. Think of calibration as preventive maintenance for your pH meter.
Real-World Reliability
Factors like temperature changes, electrode aging, and environmental conditions can affect your meter’s performance. Calibration adjusts for these variables, ensuring consistent and trustworthy results.
At Labtech.pk, we’ve seen firsthand how calibration prevents expensive mistakes. It’s not just a chore; it’s an investment in your peace of mind and the accuracy of your work.
When to Calibrate Your pH Meter
Now, how often should you calibrate? The answer depends on your usage:
- Heavy users: Calibrate at the start of each day or before each major use.
- Moderate users: Once a week should suffice.
- Occasional users: Before each use or after storage.
Additionally, calibration is essential if:
- You’ve just removed the meter from storage.
- Readings are fluctuating or seem inconsistent.
- You’re switching from testing acids to bases.
- The meter feels “off” for any reason.
A useful tip: Many modern pH meters come with alerts or one-touch auto-calibration features. These can make the process more convenient, but don’t rely solely on them. A quick manual check ensures you’re not missing anything.
Keeping a calibration log can also help you track patterns and predict when the next calibration might be needed.
How to Calibrate a pH Meter: Step-by-Step Guide
Calibration might sound intimidating, but it’s straightforward if you take it step by step. Here’s how to do it:
Step 1: Prepare Your Setup
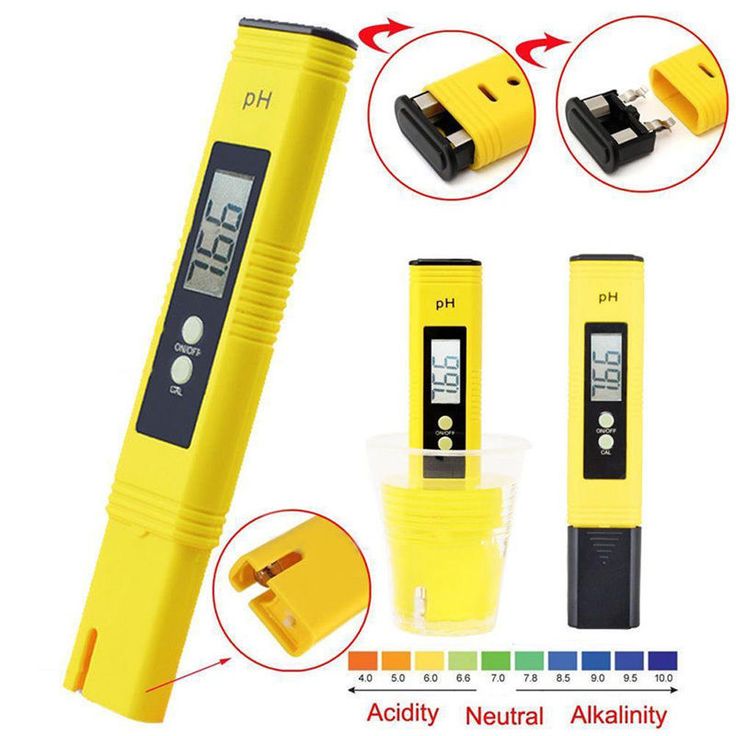
- Gather calibration buffers (commonly available at pH 4.0, 7.0, and 10.0).
- Use distilled water for rinsing.
- Ensure a stable room temperature, ideally around 25°C (77°F).
- Rinse the electrode with distilled water and dry it with a soft cloth.
- Turn on the meter and switch to calibration mode (refer to your manual if needed).
- Use NIST-traceable buffers for the most accurate results.
Step 2: Two-Point Calibration (Basic)
Most users start with a two-point calibration:
Rinse and Dip into pH 7.0 Buffer:
- Submerge the electrode in the neutral buffer.
- Let it stabilize for 30-60 seconds.
Adjust if Necessary:
- Older models might require manual adjustment to 7.0.
- Newer digital meters often auto-adjust.
Rinse Thoroughly:
- Rinse with distilled water and pat dry.
Repeat with Second Buffer (pH 4.0 or 10.0):
- Follow the same steps as above.
- Ensure the reading matches the buffer pH.
Save Settings and Verify:
- Most meters store calibration settings automatically.
- For extra accuracy, test a third buffer and aim for within ±0.02 pH units.
Step 3: Three-Point Calibration (Advanced)
For precision applications like pharmaceutical or research labs, a three-point calibration is ideal:
- Follow the same steps as above but include a third buffer (commonly pH 10.0).
- This method creates a more accurate calibration curve, accounting for any quirks in the electrode’s response.
The entire calibration process takes just 5-10 minutes. Choose a quiet spot away from drafts or temperature fluctuations. If you’re working in variable conditions, like Pakistan’s diverse climate, ensure the calibration temperature matches your sample conditions as closely as possible.
Types of pH Meter Calibration
There are different types of calibration, each suited to specific needs:
One-Point Calibration
- Uses a single buffer, typically pH 7.0.
- Quick and simple.
- Suitable for basic applications where high precision isn’t critical.
Two-Point Calibration
- Uses two buffers, often pH 4.0 and pH 10.0 or pH 7.0 and pH 4.0.
- Provides better accuracy by accounting for drift.
- Ideal for general use in labs or casual settings.
Three-Point or Multi-Point Calibration
- Uses three or more buffers to create a detailed calibration curve.
- Best for high-precision applications like pharmaceutical research.
- Corrects for any non-linear behavior in the electrode.
The choice depends on your specific requirements. For most users, two-point calibration strikes the perfect balance between convenience and accuracy.
Type of Calibration | Buffers Used | Accuracy | Best For | Key Features |
|---|---|---|---|---|
| One-Point Calibration | Single buffer (usually pH 7.0) | Basic accuracy | Home use, routine checks, non-critical tasks | Quick, simple, no adjustment for electrode drift |
| Two-Point Calibration | Two buffers (e.g., 4.0 & 7.0) | Improved accuracy | General labs, classrooms, hobbyist applications | Adjusts for electrode drift, balances cost & precision |
| Three-Point/Multi-Point | Three+ buffers (e.g., 4.0, 7.0, 10.0) | High precision | Pharmaceuticals, research, strict compliance | Corrects non-linear electrode behavior, ideal for wide pH ranges |
When to Use Each Type:
- One-Point: Quick checks (e.g., testing aquarium water, soil pH in gardening).
- Two-Point: Most lab work (e.g., food production, water quality testing).
- Three-Point: Critical applications (e.g., drug formulation, environmental monitoring)
Always match your calibration buffers to the range of samples you’re testing. For example, avoid using pH 10.0 buffers if you’re only working with acidic solutions.
Common Mistakes and How to Avoid Them
Even experienced users can stumble. Here are the most common pitfalls and how to avoid them:
Dirty or Old Buffers
- Ensure buffers are fresh and properly stored.
- Discard expired or contaminated solutions.
- Use only high-quality, NIST-traceable buffers.
Inadequate Rinsing
- Rinse the electrode thoroughly between buffer changes.
- Use distilled water to prevent cross-contamination.
- Pat dry with a soft cloth after rinsing.
Temperature Issues
- Calibrate at a temperature close to your sample conditions.
- Allow the electrode to stabilize at room temperature before use.
- Avoid sudden temperature changes when testing samples.
Rough Handling
- Handle the electrode gently to protect the delicate glass membrane.
- Avoid scrubbing or using harsh cleaning agents.
- Store the electrode properly when not in use.
Skipping the Slope Test
- After calibration, check the slope percentage (aim for 95-105%).
- A low slope indicates the need for a new electrode.
- Regularly monitor electrode health to maintain accuracy.
The most common issue? Dirty electrodes. A quick, gentle cleaning with mild soap after each use can prevent many calibration headaches.
Mistake | Problem It Causes | How to Avoid It | Pro Tip |
|---|---|---|---|
| Dirty/Old Buffers | Inaccurate readings due to contamination | Use fresh, NIST-traceable buffers. Discard expired or cloudy solutions. | Store buffers in sealed containers away from direct sunlight and heat. |
| Inadequate Rinsing | Cross-contamination between buffers | Rinse electrode thoroughly with distilled water after each buffer use. | Always rinse with distilled water, not tap water, to avoid mineral buildup. |
| Ignoring Temperature | Drift in readings due to thermal shock | Calibrate at the same temperature as your samples. Let the electrode stabilize first. | Use a meter with automatic temperature compensation (ATC) for precision. |
| Rough Handling | Damaged electrode membrane (glass bulb) | Handle the electrode gently. Avoid touching the glass tip or scrubbing harshly. | Store the electrode in a protective cap or storage solution when not in use. |
| Skipping the Slope Test | Unnoticed electrode degradation | Check slope percentage post-calibration (aim for 95–105%). Replace if <90%. | Test slope weekly if using the meter daily for critical applications. |
Maintaining Your pH Meter for Long-Term Use
Calibration is just one part of the equation. Proper maintenance ensures your meter remains accurate and reliable over time:
Storage Tips
- Store the electrode in a suitable storage solution, not plain water.
- Use a dry cap for short-term storage to prevent drying.
- Keep the meter in a clean, dust-free environment.
Cleaning Habits
- Rinse the electrode after each use.
- For stubborn residues, use a dilute HCl solution followed by neutralization.
- Avoid abrasive cleaners that can damage the glass membrane.
Regular Check-Ups
- Replace batteries as needed to maintain functionality.
- Update software on smart meters to ensure optimal performance.
- Schedule professional servicing every 6 months for thorough maintenance.
With proper care, your pH meter can last 2-5 years. That’s a significant return on investment for a little preventive maintenance.
Category | Action | Why It Matters | Pro Tip |
|---|---|---|---|
| Storage Tips | Store electrode in storage solution (not water) | Prevents drying/cracking of the glass membrane and ensures electrode longevity. | Use a 3M KCl or manufacturer-recommended solution. Avoid tap water! |
| Use a dry cap for short-term storage | Protects the electrode from dust and debris without submerging it. | Store in a cool, dark place to avoid temperature swings. 🌡️ | |
| Keep the meter in a clean, dust-free area | Prevents sensor contamination and mechanical damage. | Avoid storing near chemicals, solvents, or humid environments. | |
| Cleaning Habits | Rinse electrode with distilled water after use | Removes residual samples/buffers that could contaminate future readings. | Rinse immediately after use, even if testing non-corrosive solutions. |
| Use dilute HCl (10%) for stubborn residues | Dissolves mineral deposits or organic buildup without damaging the glass. | Neutralize with baking soda solution afterward to restore pH balance. | |
| Avoid abrasive cleaners or scrubbing | Protects the delicate glass membrane and reference junction from scratches. | Use a soft brush (e.g., camel hair) for gentle cleaning. | |
| Regular Check-Ups | Replace batteries when low | Low batteries cause erratic readings or meter shutdowns. | Use high-quality Alkaline batteries (avoid rechargeables for precision). |
| Update software/firmware on smart meters | Ensures compatibility with new calibration protocols and improves accuracy. | Enable automatic updates if your meter supports them. | |
| Schedule professional servicing every 6 months | Identifies hidden issues (e.g., worn junctions, leaks) and recalibrates for peak performance. | Labtech.pk offers calibration & servicing across Pakistan with quick turnaround. |
Conclusion
Calibration might not be the most thrilling part of your lab routine, but it’s undeniably crucial. By taking the time to calibrate your pH meter correctly, you’re investing in the accuracy of your work and the longevity of your equipment.
Whether you’re nurturing plants in Punjab, testing water quality in Sindh, or conducting research in a Karachi lab, a well-calibrated pH meter is your trusted ally. It’s the difference between success and failure, accuracy and approximation.
At Labtech.pk, we’re here to help you make the most of your lab equipment. Check out our selection of high-quality pH meters and calibration solutions, or reach out for personalized advice. We’re committed to making lab life easier for professionals and enthusiasts across Pakistan.
So, what’s the trickiest pH puzzle you’ve faced? Share your experiences in the comments, and let’s keep the conversation going. If you enjoyed this guide, sign up for our newsletter to stay updated on the latest tips and tricks in lab equipment maintenance.