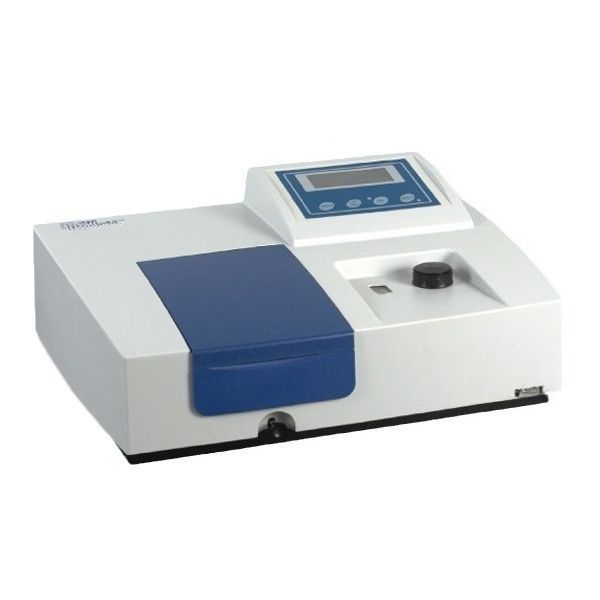

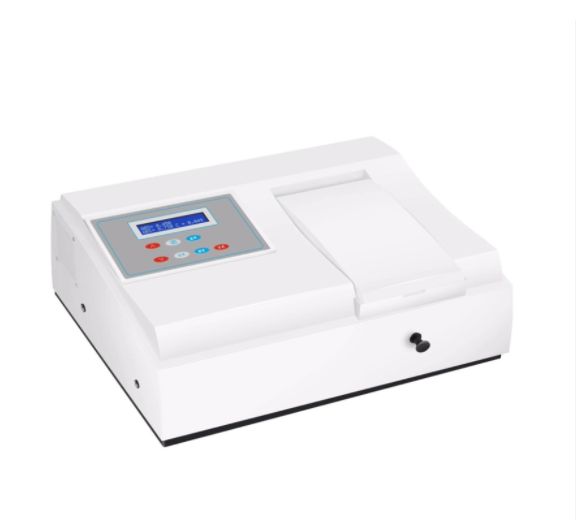
Before performing any calibration, turn on the spectrophotometer and allow it to stabilize for at least 15–30 minutes.
This step is critical for ensuring consistent light intensity and temperature stability inside the optical system.
 Why It’s Important:
-
The light source (lamp) needs time to reach a steady state; otherwise, initial readings may fluctuate.
-
Temperature variations can affect optical alignment and electronic components.
-
Warm-up ensures accurate wavelength and absorbance readings throughout the session.
 Pro Tips:
-
Keep the instrument covered when not in use to prevent dust from entering the optics.
-
Avoid switching the instrument on and off repeatedly within a short time frame.
-
Ensure the laboratory environment is stable (temperature: 20–25°C, humidity: 40–60%).
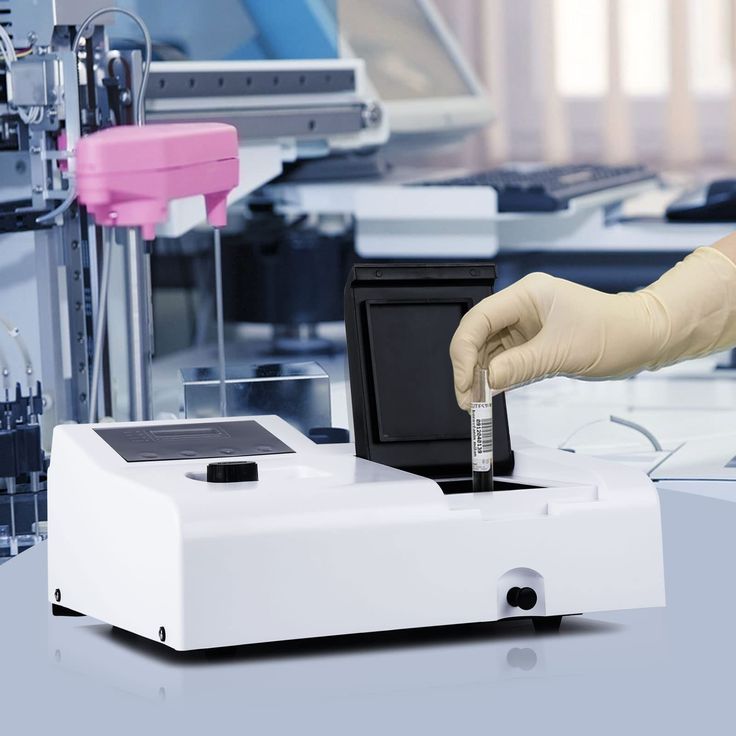
Cleanliness is vital for accurate readings. Any residue, dust, or fingerprints on the cuvettes or sample holder can cause light scattering and false absorbance values.
 How to Clean:
-
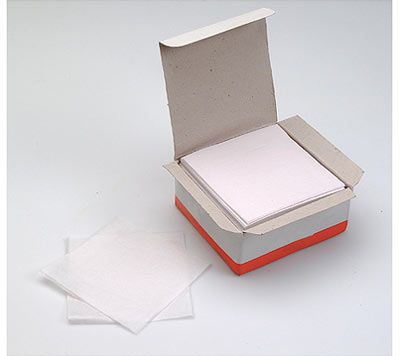
Use lint-free tissue or microfiber cloth to wipe the cuvettes.
-
Rinse the cuvettes with distilled water or ethanol before use.
-
Avoid using harsh chemicals that might damage the cuvette surface.
-
Check for scratches or cloudiness — replace damaged cuvettes immediately.
-
After cleaning, allow the cuvettes to air dry in a dust-free environment.
 Common Mistakes:
-
Using tap water (can leave mineral residues).
-
Touching the clear optical surfaces with bare fingers.
-
Using old or unclean wipes that add particles instead of removing them.
This test ensures that the spectrophotometer’s wavelength scale is properly aligned with known reference values.
It verifies that the instrument reads true spectral peaks at expected wavelengths.
 Materials Needed:
Holmium oxide or Didymium filters (traceable standards).
Calibration certificate (to confirm reference peak wavelengths).
 Procedure:
Insert the wavelength calibration filter into the sample compartment.
Scan across the full wavelength range (e.g., 200–700 nm for UV-Vis).
Record the absorbance peaks (commonly at 279 nm, 361 nm, 453 nm, 536 nm, etc.).
Compare the observed peak positions with the reference certificate values.
Calculate the deviation (Δλ). It should typically be within ±1 nm for a properly calibrated instrument.
If deviations exceed limits, follow your instrument’s adjustment procedure or contact service support.
 Documentation Tip:
Always note the measured vs. certified wavelengths in your calibration log. This helps identify gradual drifts over time.

This test confirms that your instrument’s photometric response (absorbance reading) matches the true value.
 Materials Needed:
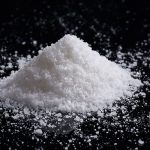
Potassium dichromate (K₂Cr₂O₇) standard solution (certified reference).
UV-grade quartz cuvettes.
Procedure:
Prepare standard potassium dichromate solutions at known concentrations (e.g., 40 mg/L in 0.005 M sulfuric acid).
Measure absorbance at 235 nm, 257 nm, 313 nm, and 350 nm.
Compare the obtained readings with the certified absorbance values on the reference data sheet.
Acceptable variation: typically ±0.005 to ±0.010 absorbance units.
 Expert Tip:
Ensure the same cuvette orientation for all readings to avoid path length inconsistencies.
Run the test in both single-beam and double-beam modes if applicable.
Replace the lamp if absorbance deviations persist.
This step checks that the spectrophotometer produces a proportionate absorbance for increasing sample concentrations — confirming its linearity.
Materials Needed:
Potassium dichromate or cobalt chloride standard solutions at multiple concentrations.
Quartz cuvettes of identical path length.
Procedure:
Prepare at least five dilutions covering a range of absorbance (0.2–1.0 AU).
Measure absorbance at a fixed wavelength (e.g., 350 nm).
Plot a graph of absorbance (Y) vs. concentration (X).
The plot should produce a straight line (R² ≥ 0.999).
Any deviation indicates possible detector non-linearity or stray light interference.
 Tip:
Tip:
Always use freshly prepared solutions and verify concentration accuracy using analytical balances and volumetric glassware.


Stray light refers to unwanted light reaching the detector from sources other than the sample path, reducing the accuracy of absorbance at high optical densities.
Common Test Solutions:
Potassium chloride (1.2% w/v) at 200 nm
Sodium nitrite (5% w/v) at 340 nm
Acetone (50%) at 360 nm
Procedure:
Fill a clean cuvette with one of the above solutions.
Measure absorbance at the specified wavelength.
A valid instrument should show very high absorbance (≥2.0 AU).
If measured absorbance is lower, stray light is present — clean optics or contact the manufacturer.
Tip:
Regular stray light testing ensures your instrument remains reliable for high-precision analytical work.
A well-calibrated instrument should produce a flat baseline and minimal noise when scanning a blank.
Procedure:
Fill both sample and reference cuvettes with distilled water (or the same solvent used in your test).
Run a scan across the full wavelength range (190–1100 nm for UV-Vis).
The absorbance should remain close to zero with no fluctuations.
Baseline drift or noise indicates lamp instability, dirty optics, or electronic noise.
 Acceptable Limits:
Baseline drift: ±0.002 AU/hour
Noise level: ≤0.0005 AU
 Troubleshooting:
Recheck the power supply and grounding.
Replace old lamps or filters.
Perform a system recalibration if necessary.